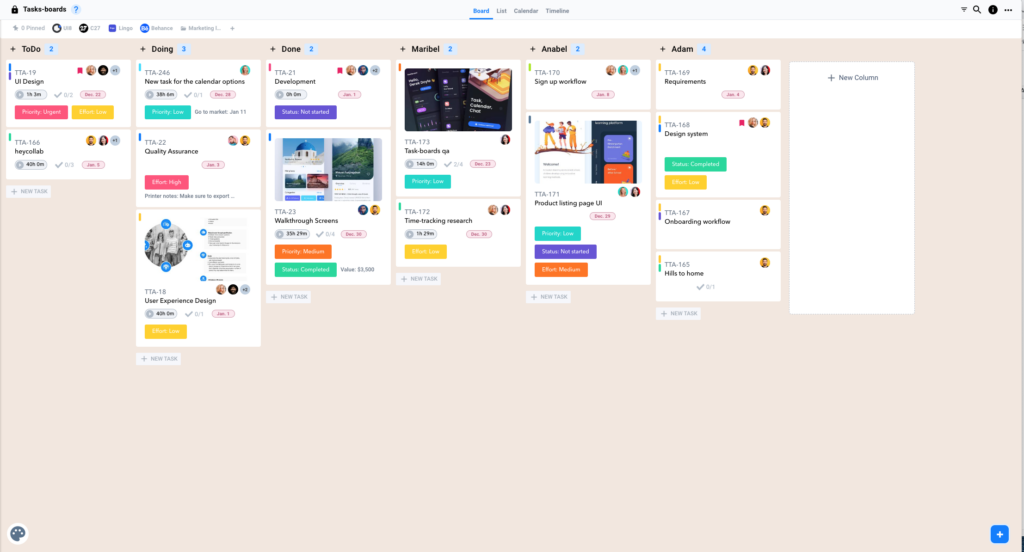
Setting Labels for Tasks
Setting Task Labels
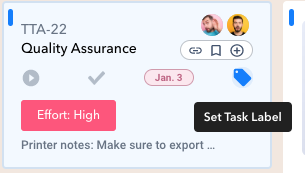
Add Labels to a Task in order to help categorize them for better searching and viewing capabilities within a Workspace. A label will display on the left corner of a Task card. Hover over the colored label indicator to display the Label name.
The default labels available are:
- In Progress
- Pending Review
- Ready
- Complete
- High Priority
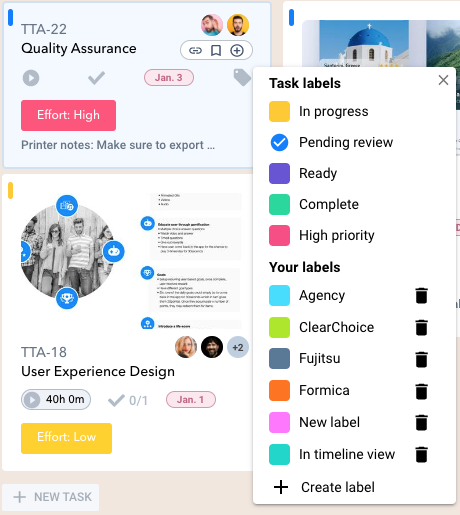
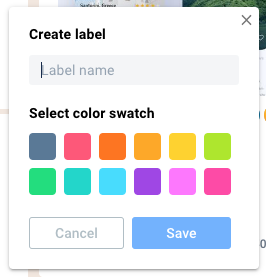
You are able to also add in your own Custom label too.
When creating a Custom label you’ll be able to create the name and color of your label.
Add a Label
- Open a Task Card and Click the “Set Task Label” icon.
- A pop up window will allow you to click one of the default labels or add a Custom Label. You can select multiple labels to apply to your Task.
- You can also add a label by hovering over any Task Card without opening the Task.
- Hover over the bottom of the Task Card on the Workspace and click the Label icon on the far right.
- Select the label from the pop up window.
You can also add a label in the My Work section when you see any task on the list by clicking the Label icon.

Remove a Label
- In the Task Card under the Label icon each of your labels will be visible.
- Hover over the label you want to remove and click the “x”.
- Similarly, anywhere you see a Label you can hover over it and click the “x” to remove it.
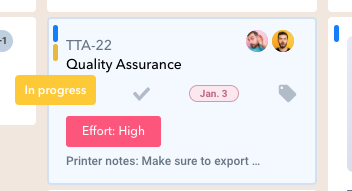
Ways to View Labels
The Calendar and Timeline view are two easy ways to visualize your task labels. The Calendar view helps make your daily or weekly tasks, and the Timeline view helps see the bigger picture of all the tasks your team is working on.
Changing the task label will change the visible color on both of these views.
