Adding Subtasks to a Task
Creating Subtasks in a Task
Adding a Subtask allows you to break out larger Tasks into manageable sections for completing the project.
Create a Subtask within the Task Window
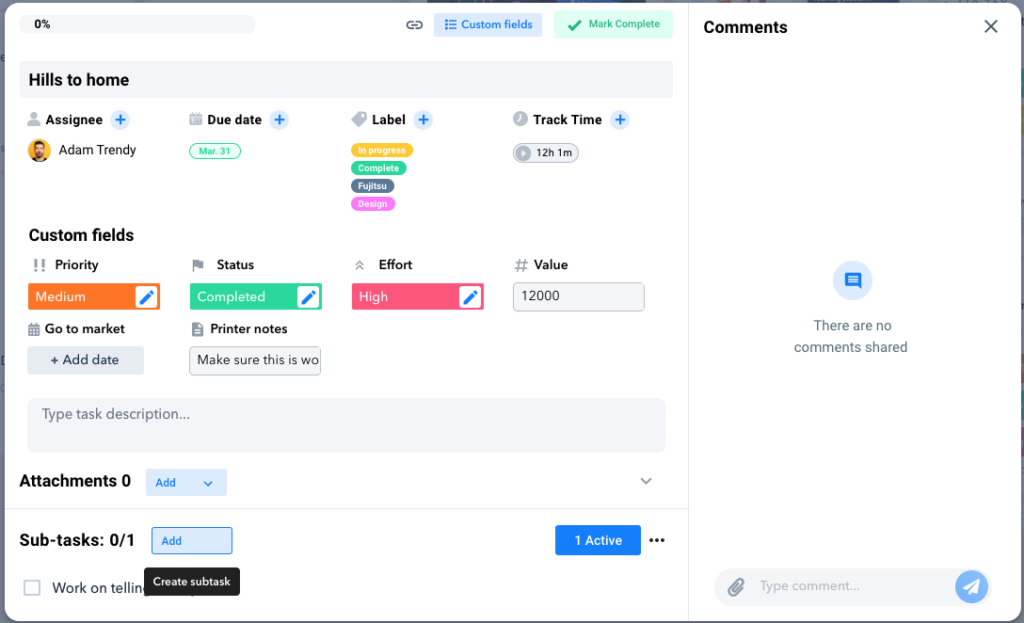
- Click blue button ” Add ” in the Sub-task section to add a Subtask.
- Type in all the information for the Subtask in the text field.
- Include any Titles, descriptions, or lists.
- You can format the text by adding Bold or Italics (Cntrl/Cmd B or I) and make bulleted lists by using a dash before any new line.
- Hit the green check when you are finished.
- If you need to make any edits hover over the subtask and click the pencil icon.
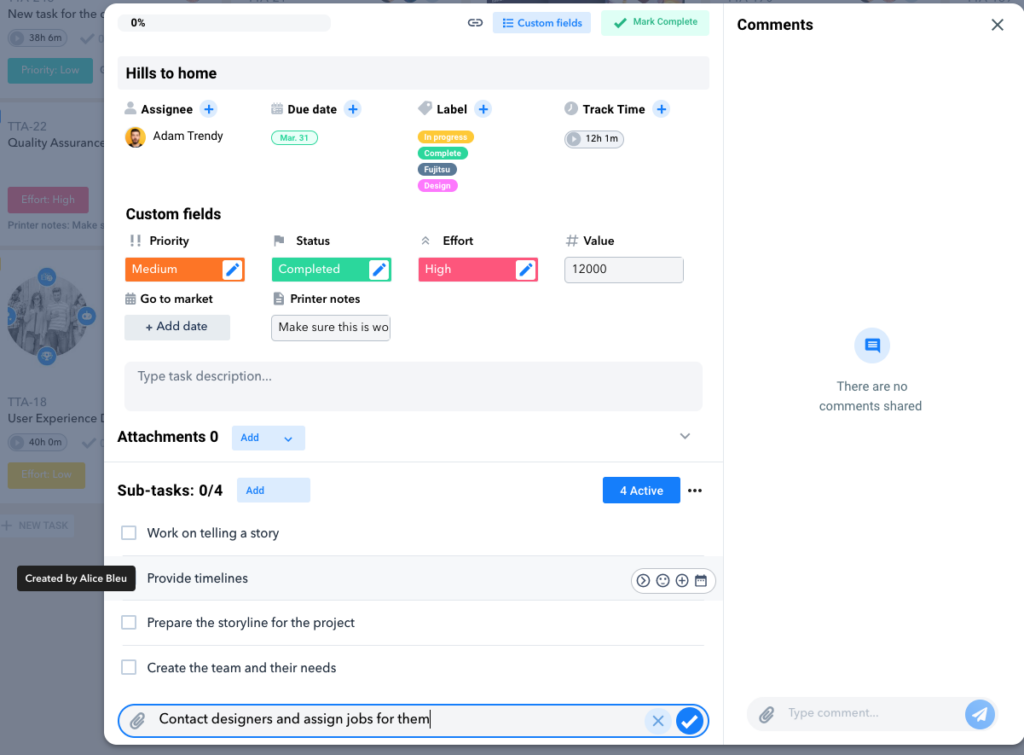
Remember: You are able to do similar functions that are also available on a Task like assigning a due date, copying a Subtask link, and tracking time too!
Give Feedback on a Subtask
Providing feedback on a Subtask is done through adding Comments or Reactions.
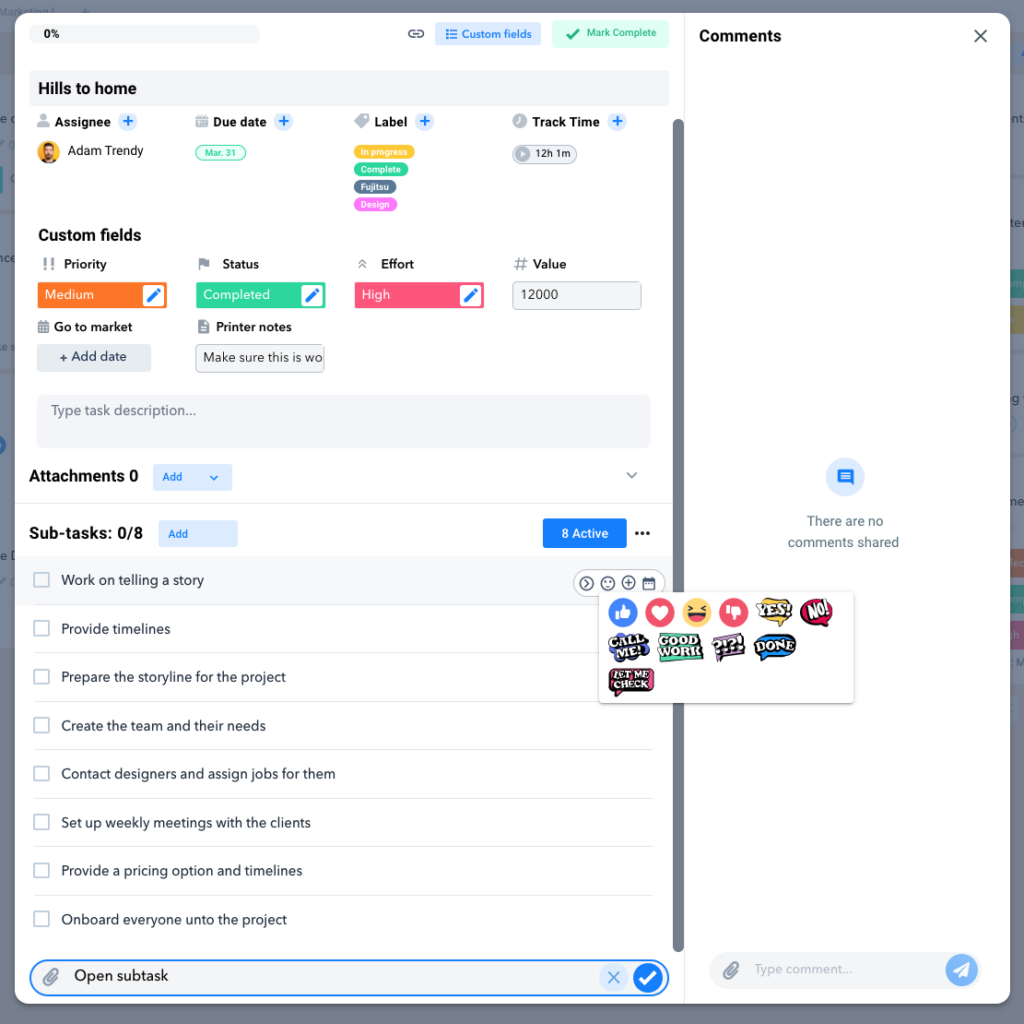
To add a Reaction, hover over the Subtask and click the emoji icon on the left.
Select the right reaction to add and it will appear below the Subtask.
The Comment section is on the far right of the Task window.
It can be used like you were creating a Message.
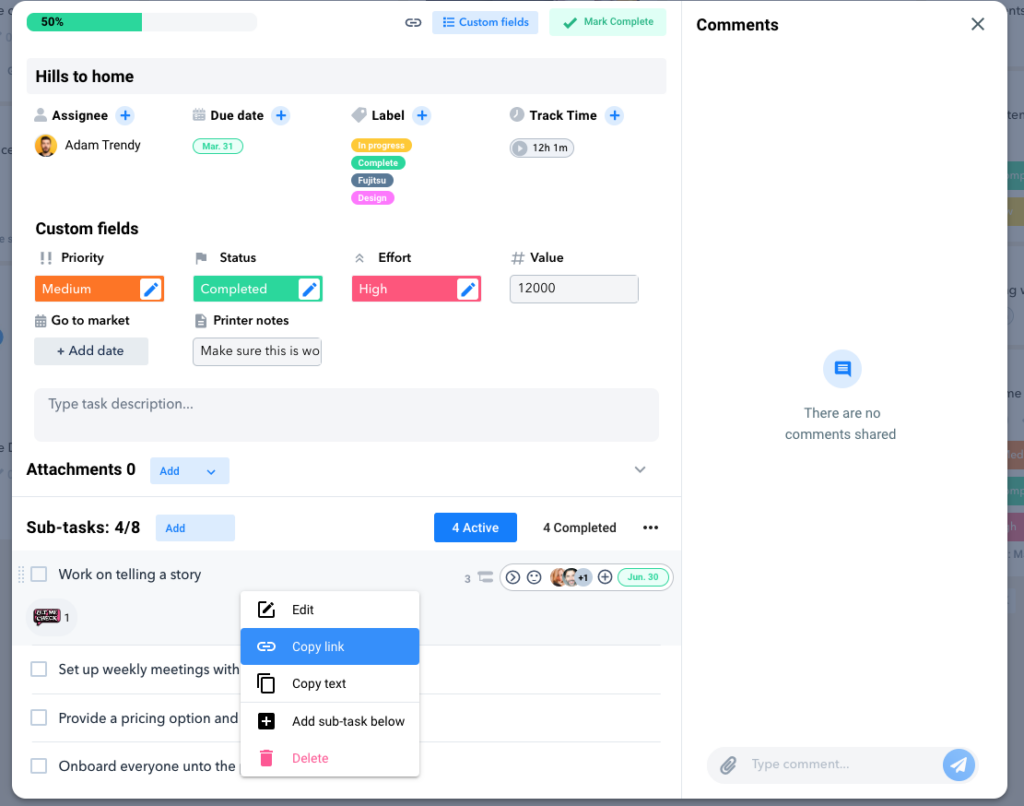
Add any feedback or link specific Subtasks in the comment to draw attention to the specific work being mentioned.
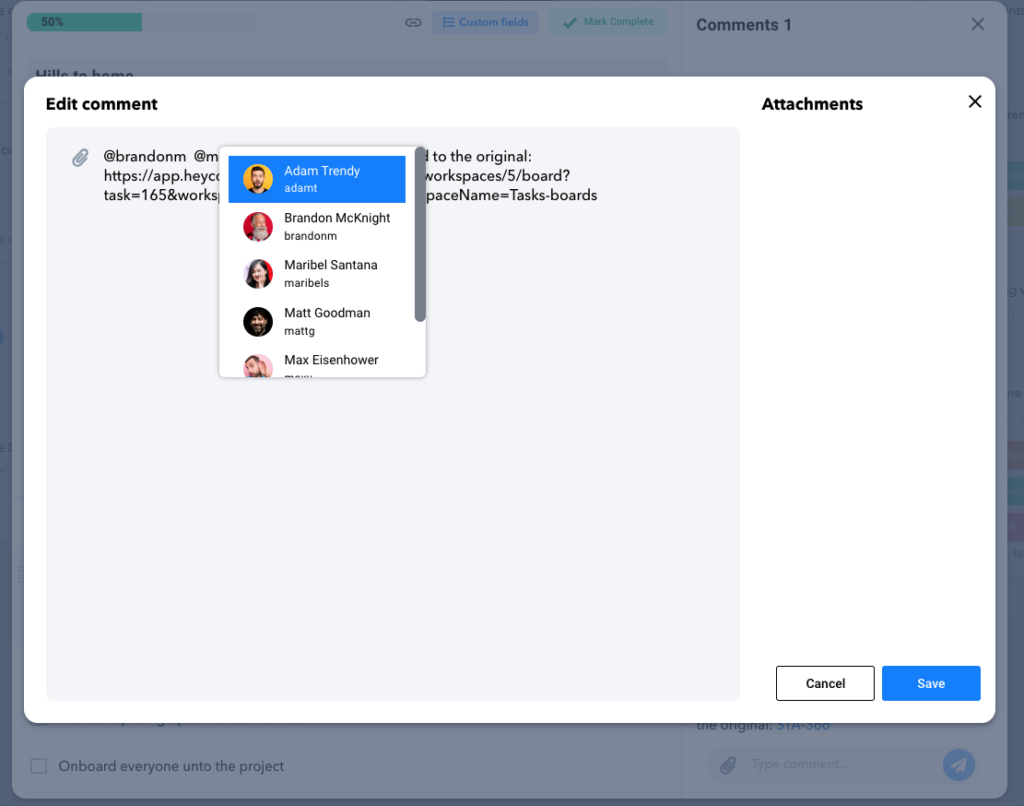
You can also mention a team member in the comment using the “@” symbol.
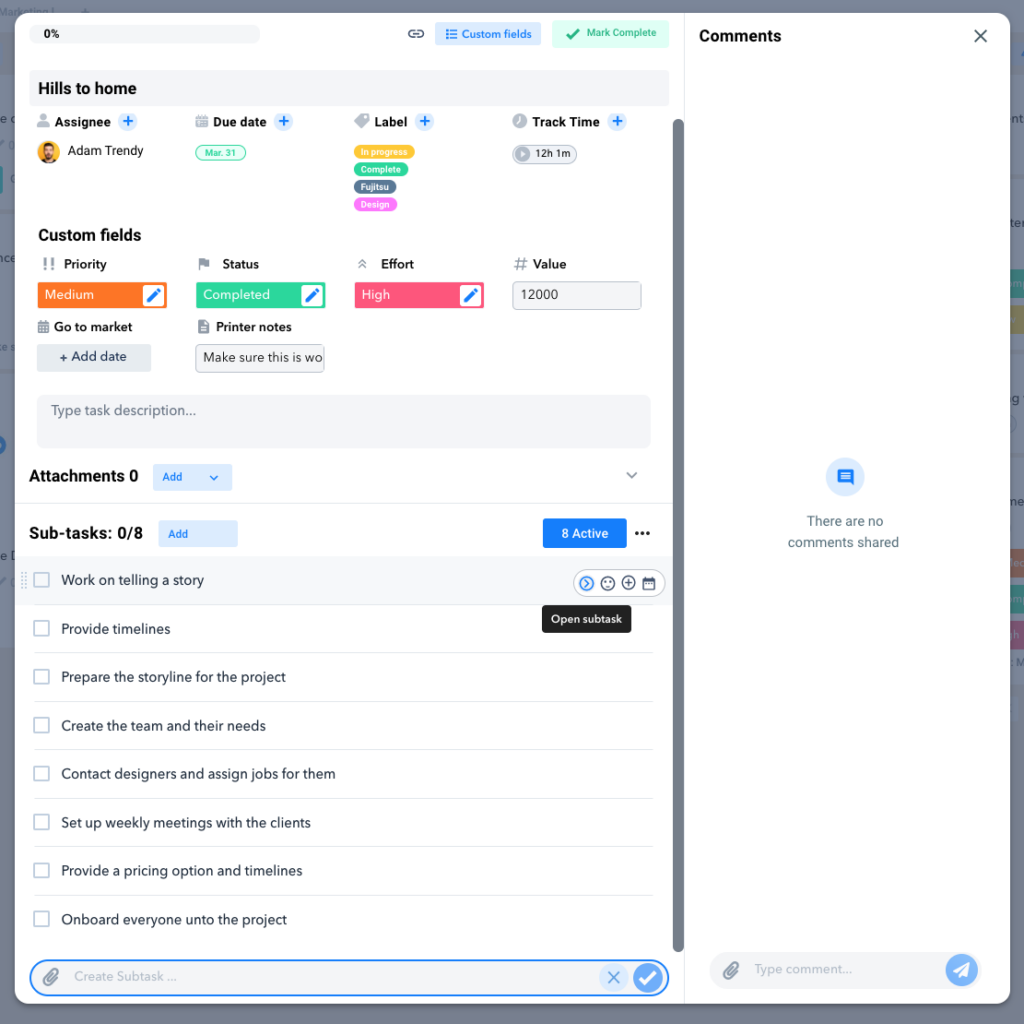
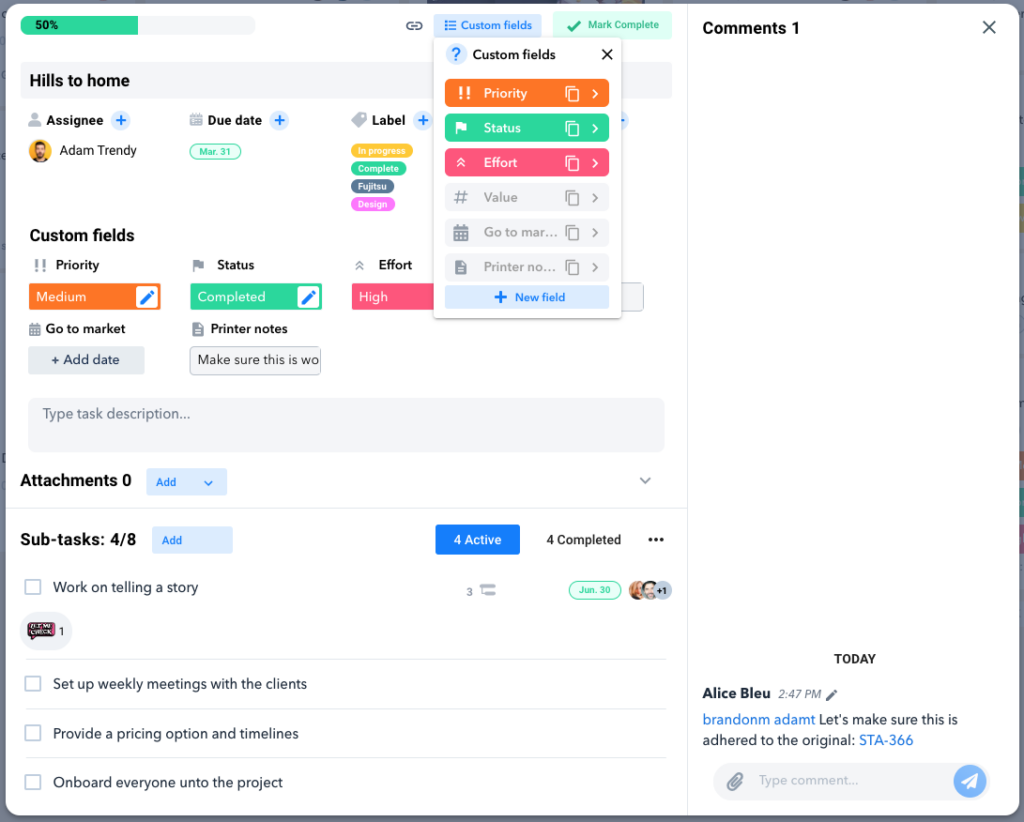
“Open subtask” it refers to a child subtask where a subtask can have one subtask to itself and it will be shown as a tree line in the box- see the image below.

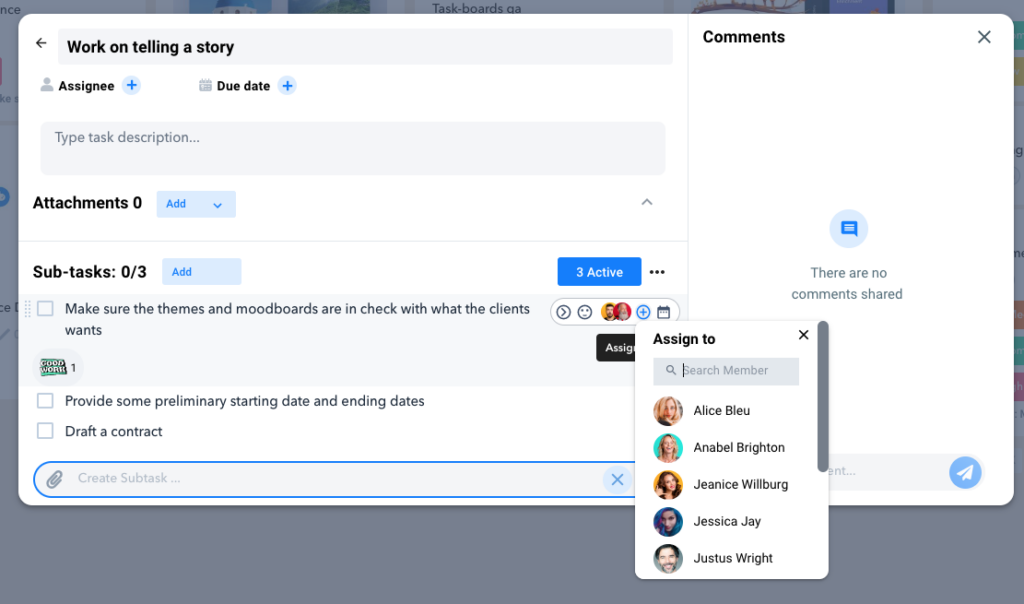
Assign team members to a subtask- again this feature is displayed on the far right of the subtask as you hover over the subtask.
Set the due date option is available for the subtask.
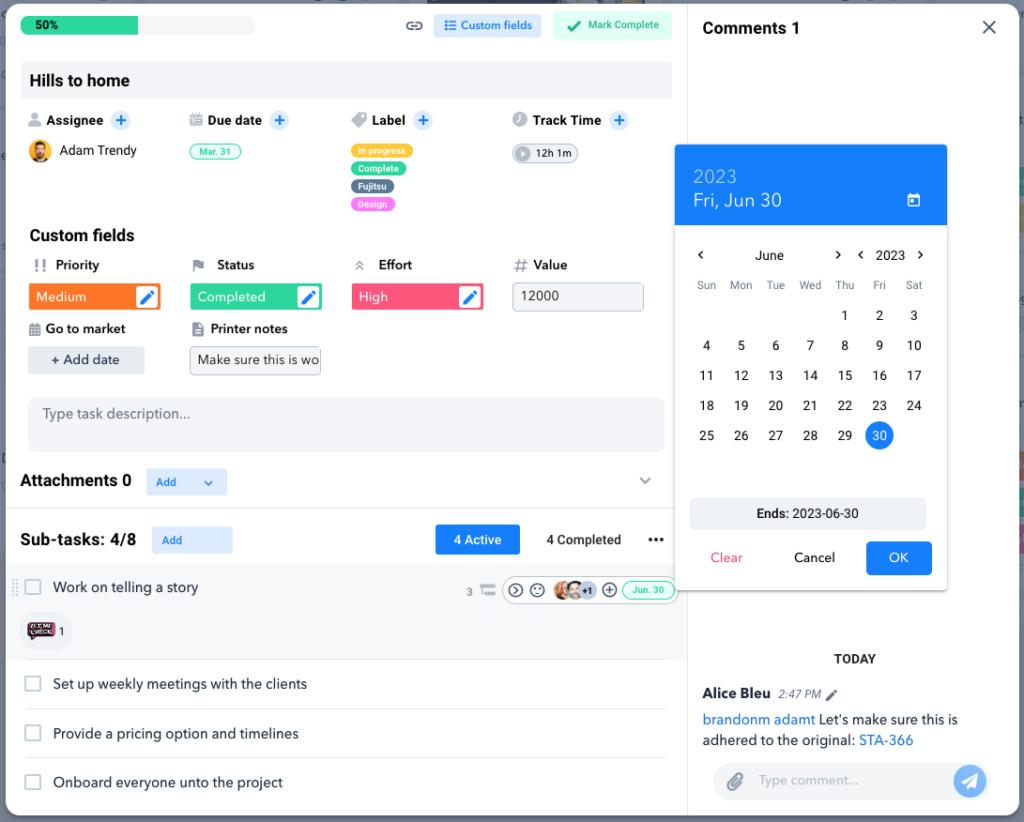
Create custom fields to tasks by clicking or selecting custom fields.
Warning: Use of undefined constant PWP_NAME - assumed 'PWP_NAME' (this will throw an Error in a future version of PHP) in /home/u685573387/domains/help.heycollab.com/public_html/wp-content/mu-plugins/mu-plugin.php on line 129