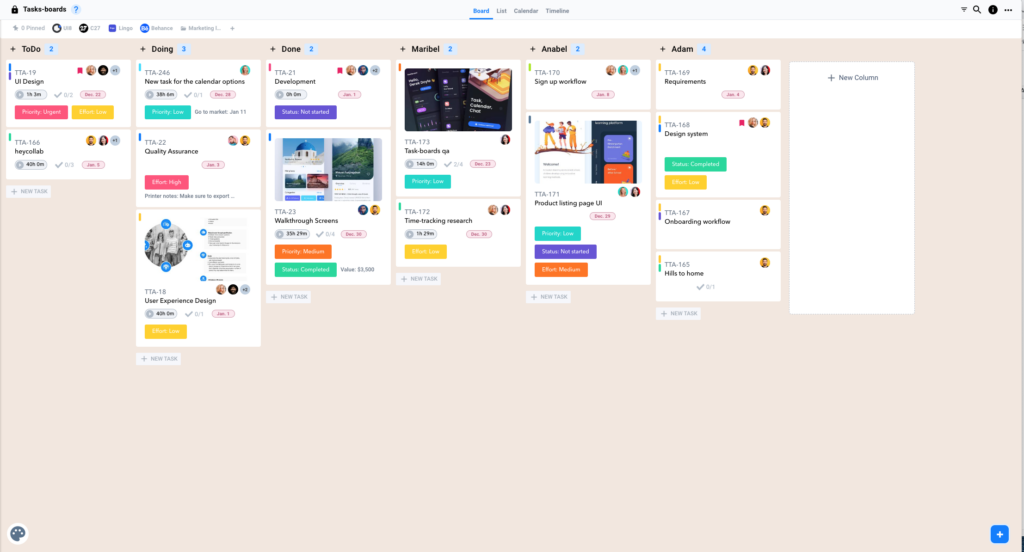
Organizing Tasks and Columns
How to Organize Tasks and Columns
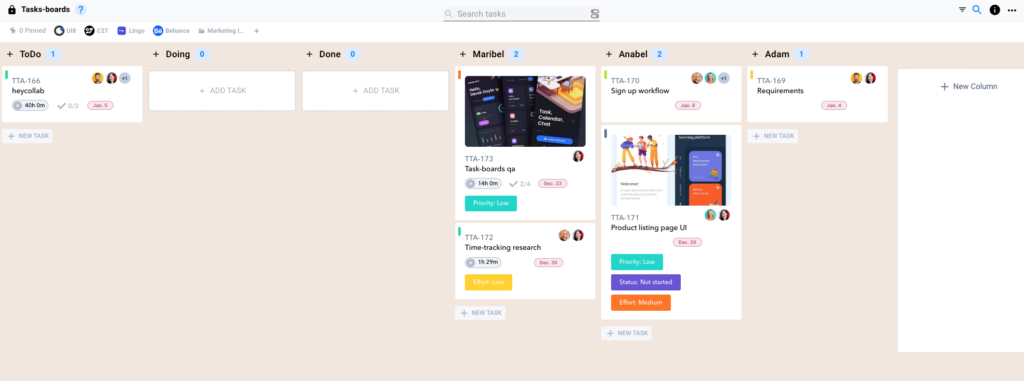
Keep your Tasks organized in labeled Columns.
The three columns that are easiest to begin with are To Do, Doing, and Done.
You can create additional columns and move them around the Workspace board.
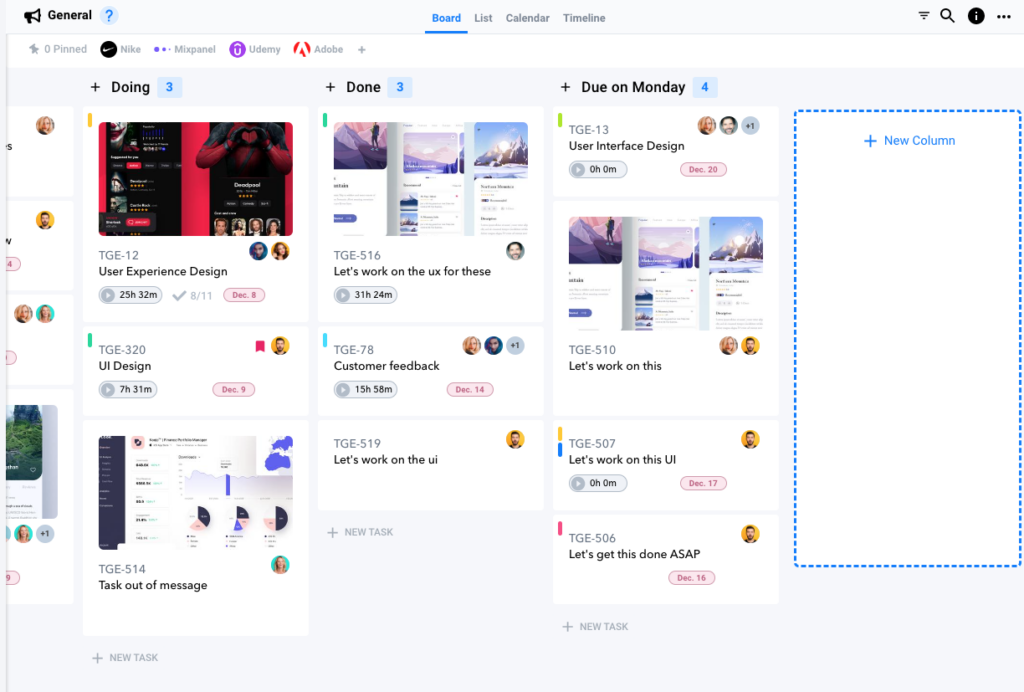
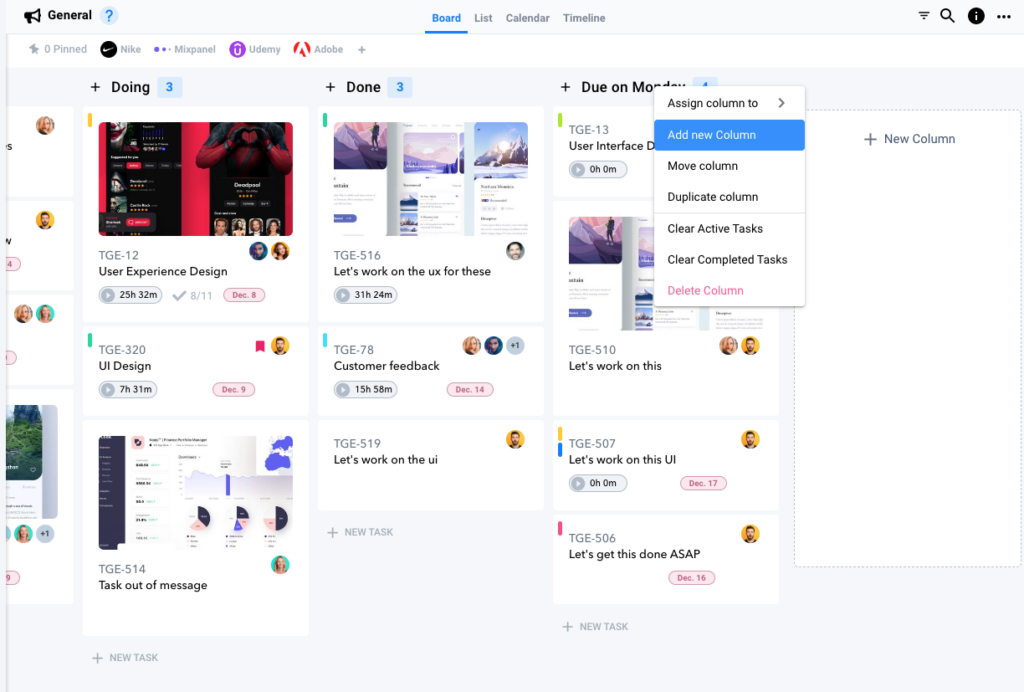
Click the “+ New Column” on the far right of the Workspace window to create and name a new Column. Or you can hover over the name of a current column and click the “…” icon.
Add an Active Task to a Column
Create a task from the top or bottom of the column. Creating at each direction puts it in the appropriate order.
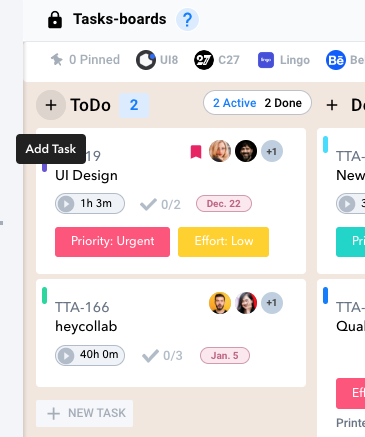
Simply click the “+” and “+ New Task” icon on either the top or the bottom of the column.
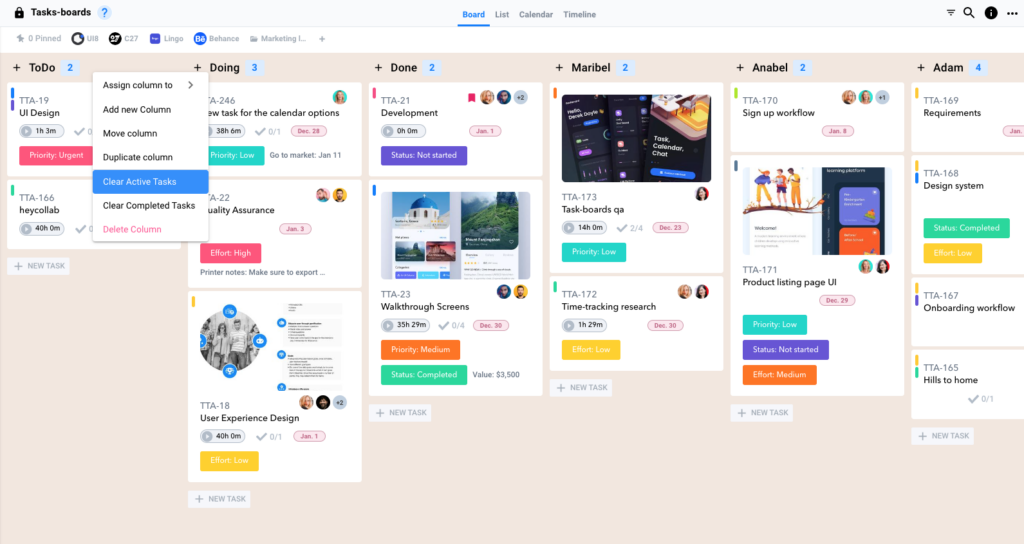
Move a task by hovering and then clicking and dragging. You can move a column the same way.
You can delete a column or task by clicking the “…” icon and select delete.
Or Tasks can also be removed from a column by marking them Complete. Hover over a task and click Complete, and then it disappears from the Active view.
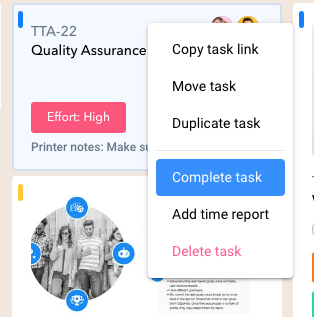
To view all complete tasks, hover over the Column and select Active or Done to see the relevant Tasks.
You can always mark a Task as Incomplete to make it appear in the Active view again.
Find Tasks by Searching
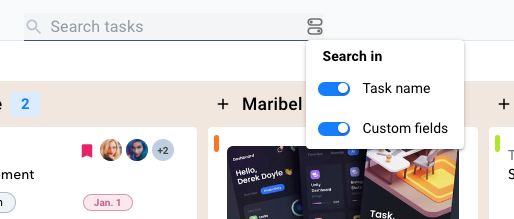
Get to the tasks you need quickly using filtering by clicking the Search Icon.
Type a specific Keyword to bring up the related Task.
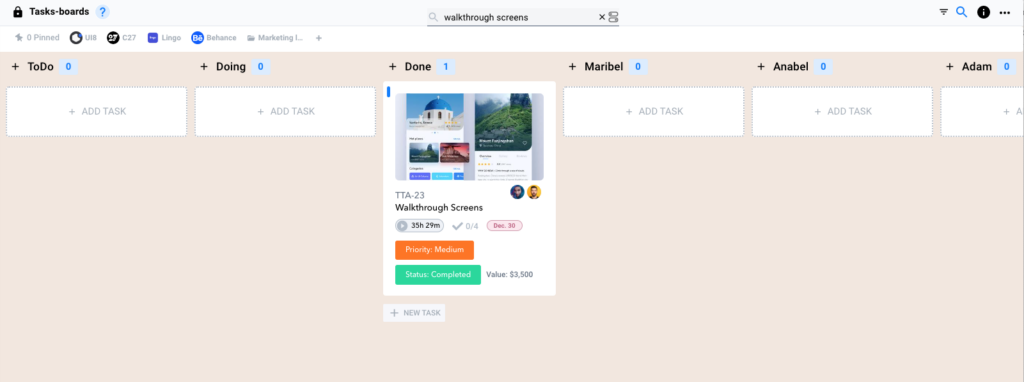
Type a specific Keyword to bring up the related Task.
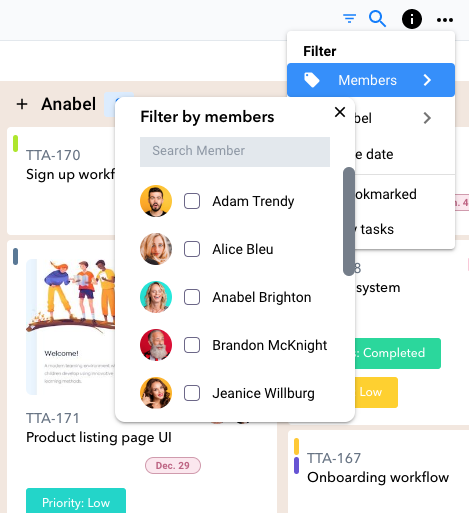
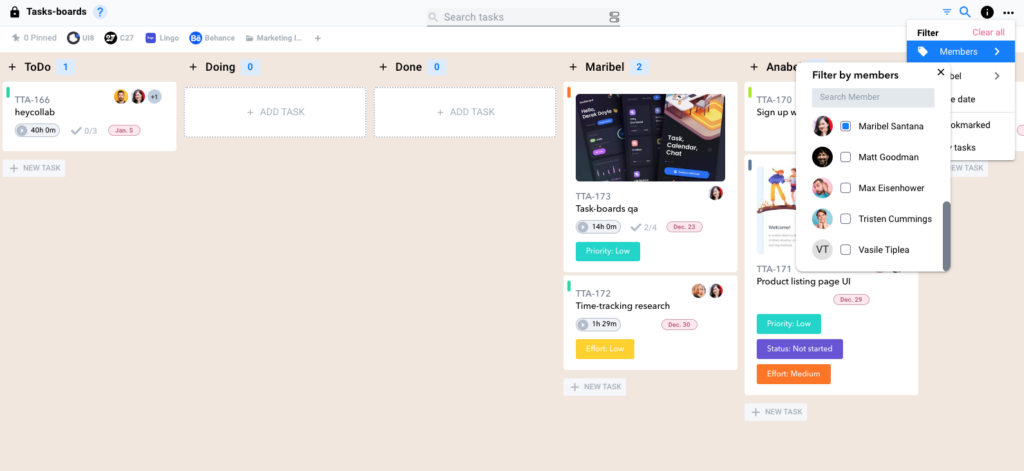
You can also filter by specific team member by clicking on the team Profile icons in the top left hand corner.
Select the user and only their tasks will appear in your view.
Use Different Views to Organize your Tasks
Use the different views at the top center of the Workspace window to better visualize your team’s workflow.
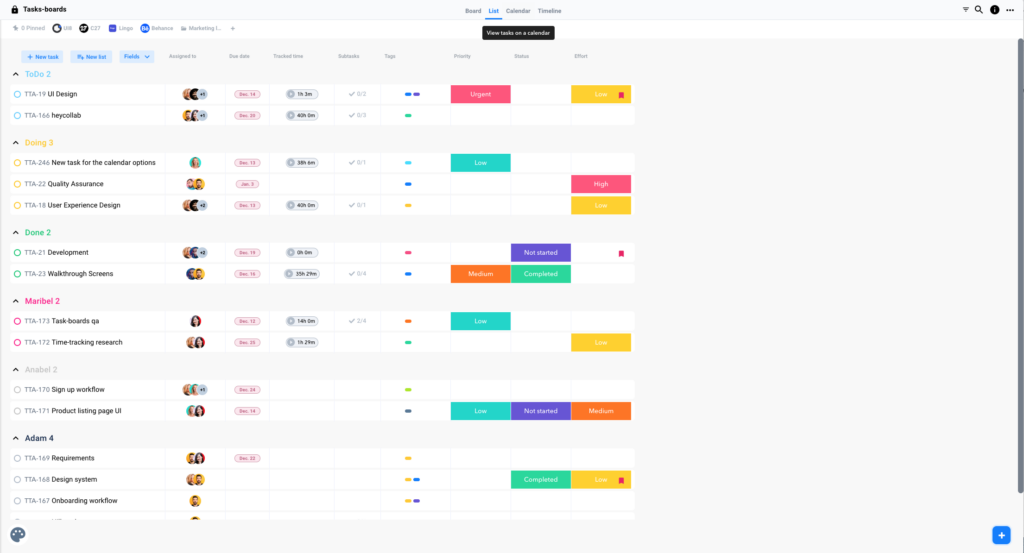
The List view shows a condensed full collection of tasks.
The Calendar view helps to understand your daily and weekly schedule.
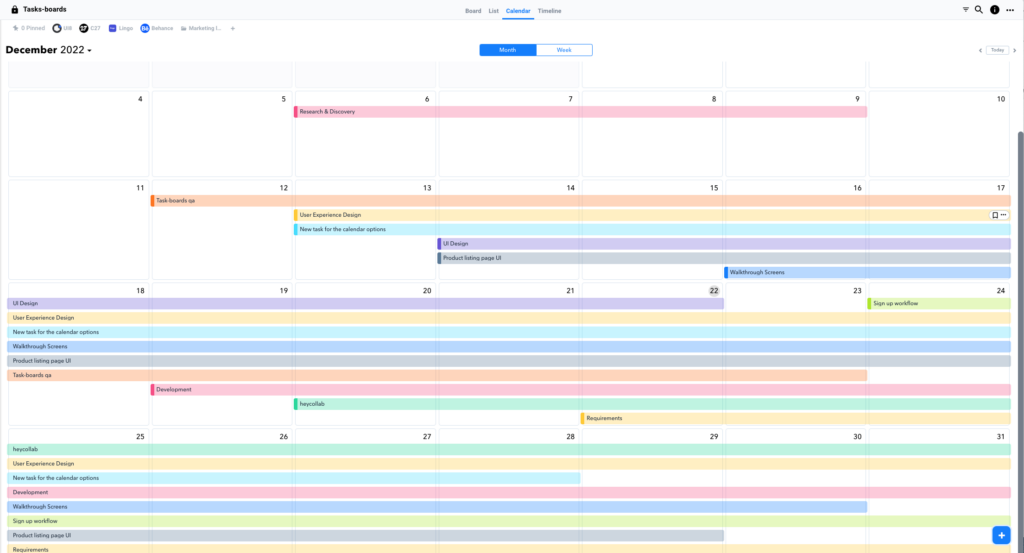
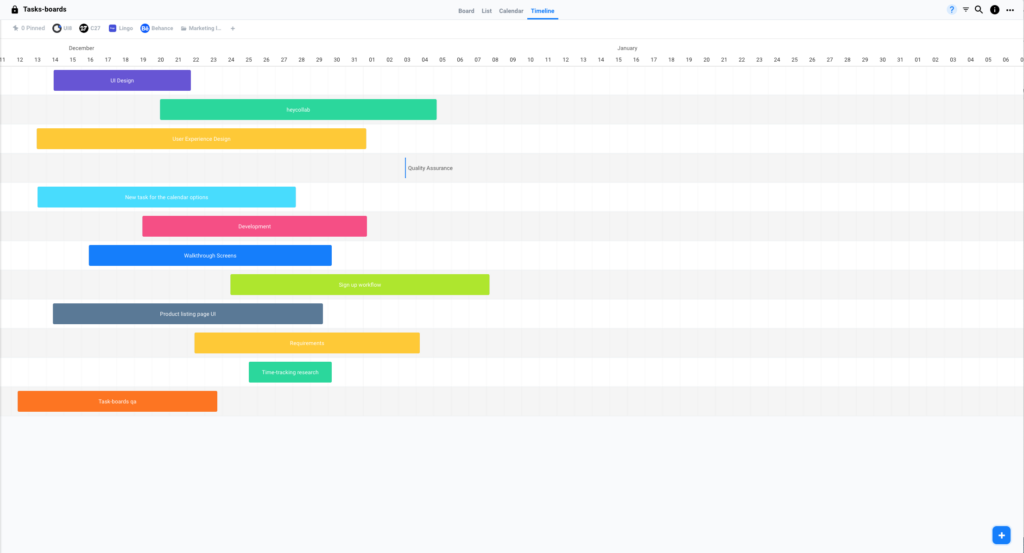
While the Timeline view puts your whole team’s workflow into perspective.
The Board view is the default view showing all the Task cards.
