Intro to Heycollab
Articles
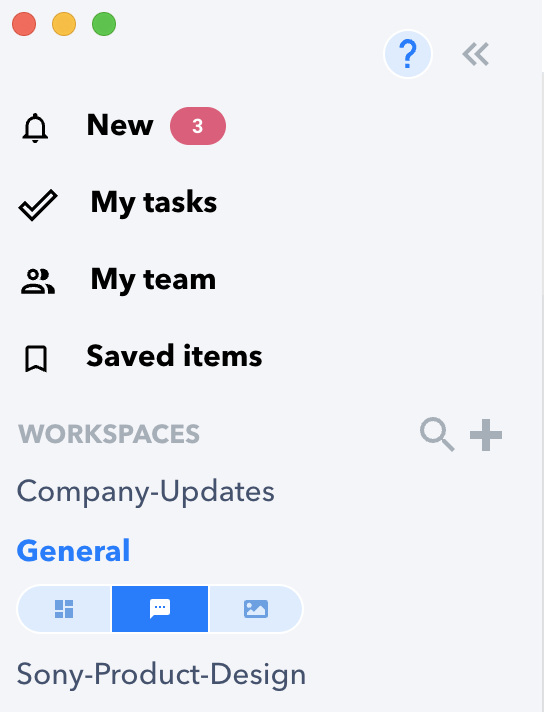
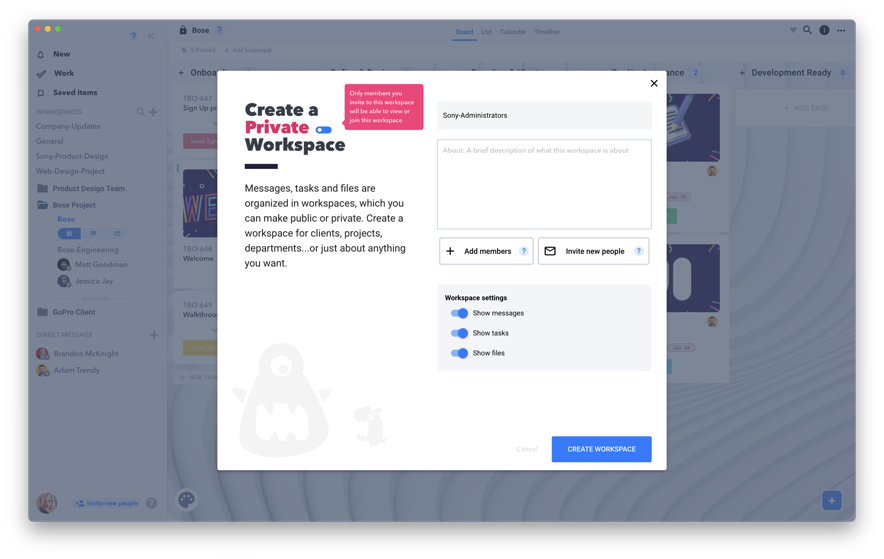
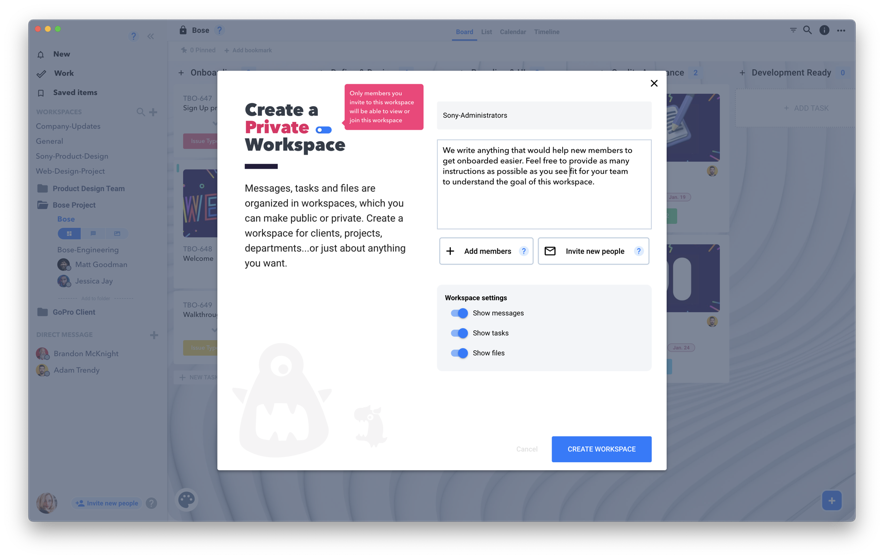
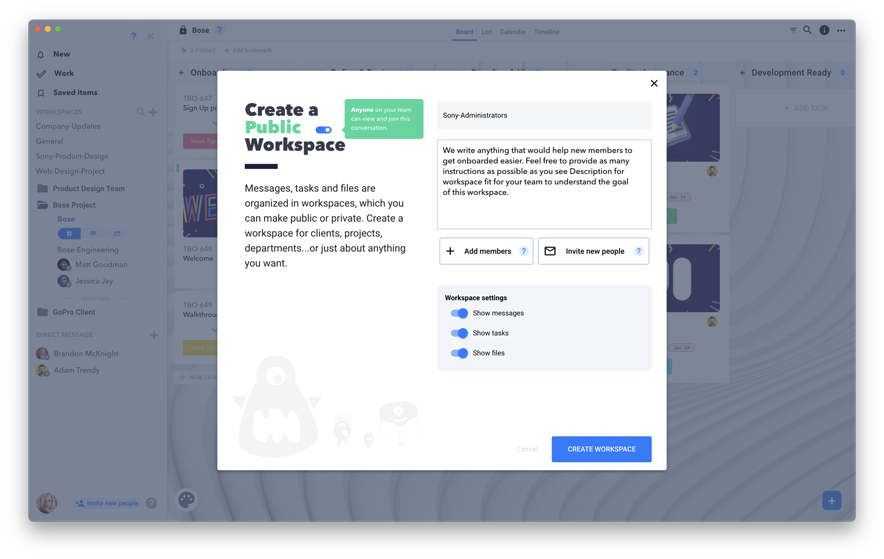
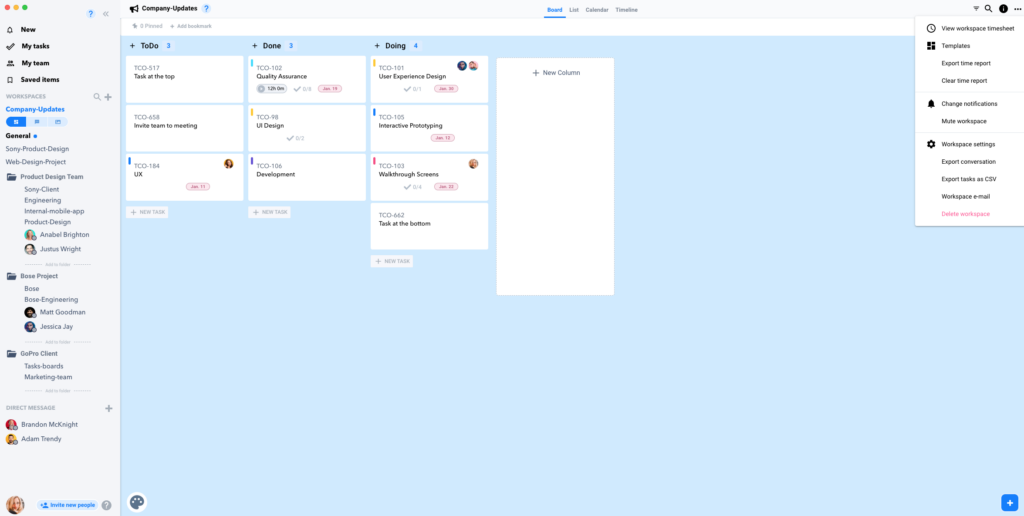
Create a workspace


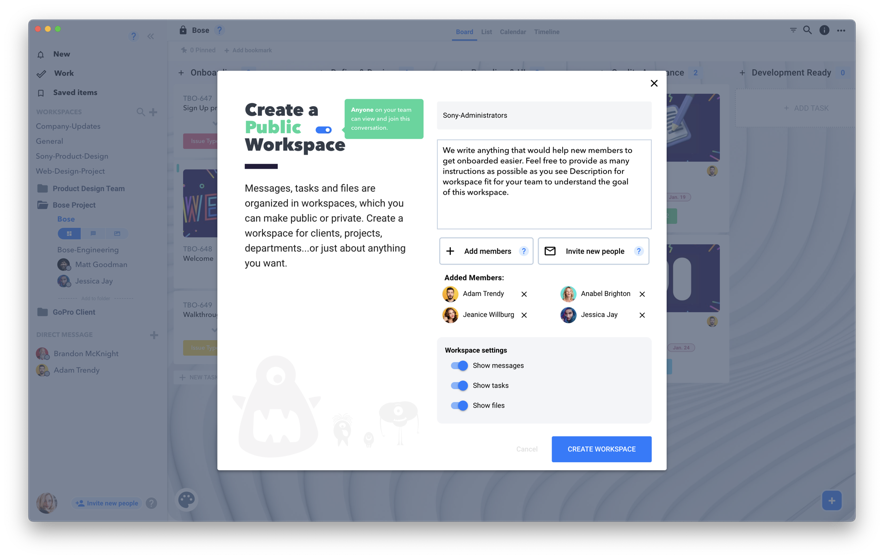
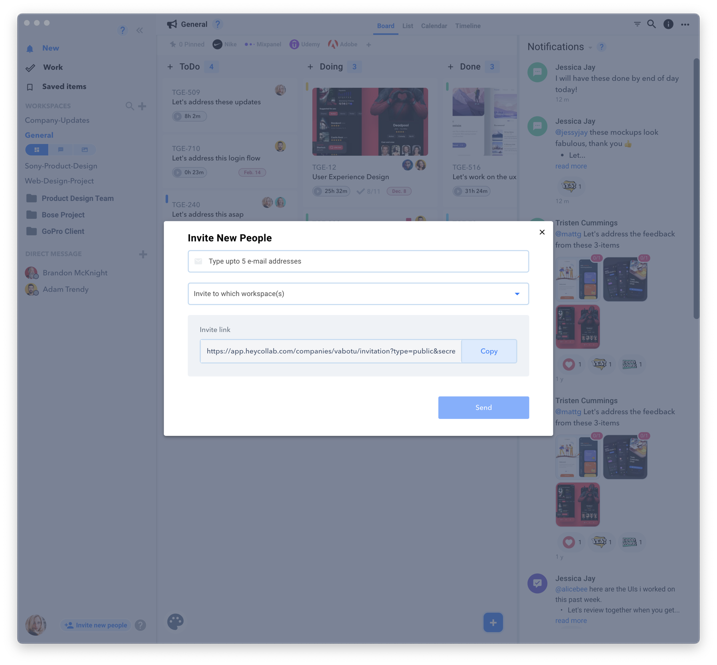
Invite your team

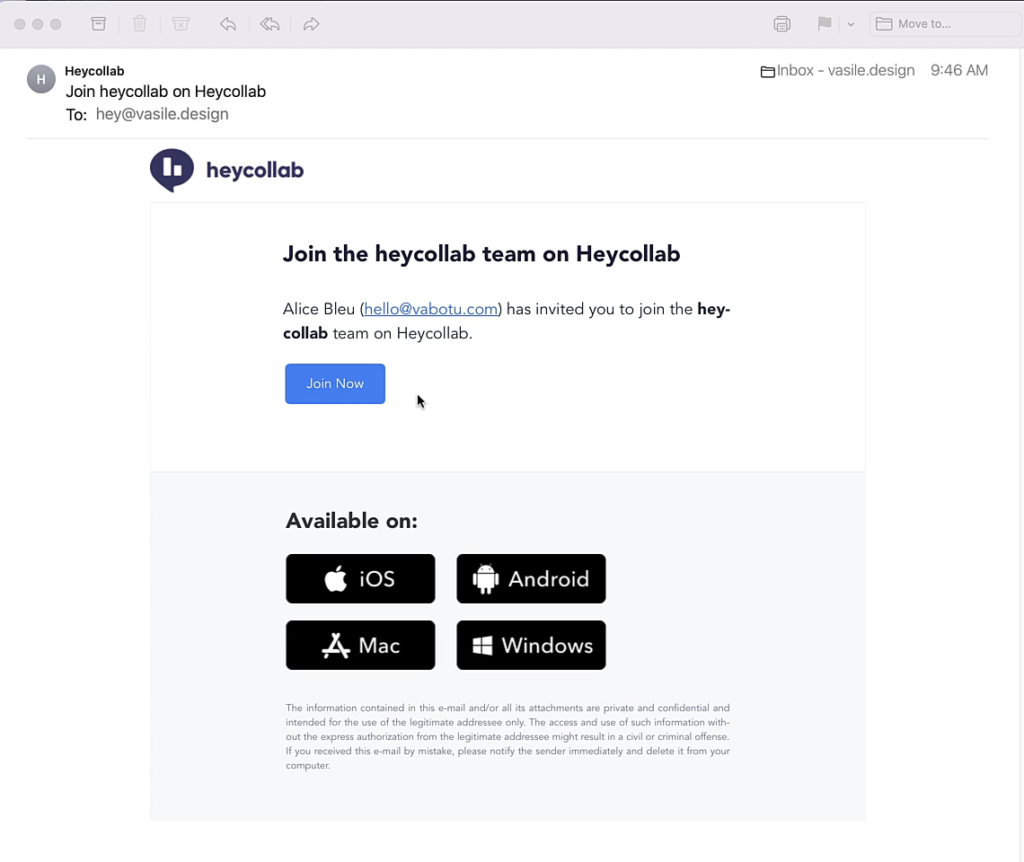
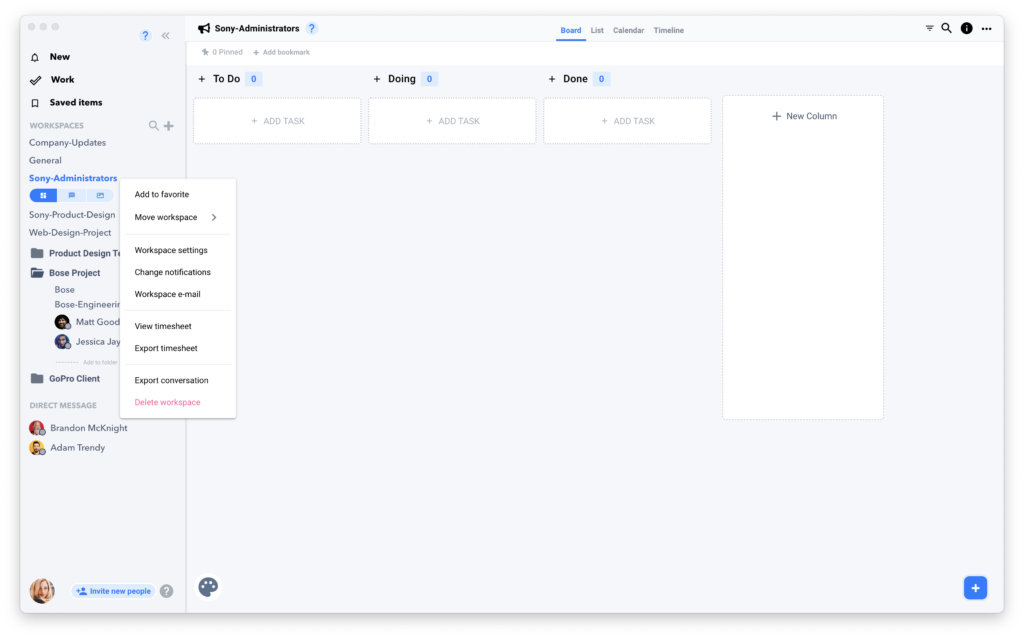
Joining a Team